Remote Raspberry Pi Access: SSH, VNC & More Ultimate Guide!
Are you ready to unlock the full potential of your Raspberry Pi from anywhere in the world? Remote access to your Raspberry Pi isn't just a convenience; it's a gateway to innovation and control.
The ability to remotely control your Raspberry Pi opens up a vast landscape of possibilities, allowing you to interact with projects, monitor systems, and manage resources, all from the comfort of your chosen device. Whether you're a seasoned tech enthusiast or just starting your journey into the world of single-board computing, the ability to connect to your Pi remotely is a crucial skill. There are numerous methods to achieve this, each with its own strengths and suitability for different scenarios, ranging from simple command-line access to full graphical desktop experiences.
Before we delve into the various methods, lets understand why remote access is such a pivotal part of the Raspberry Pi learning curve. From the moment you power on your Pi, you're presented with a small, but powerful computer, and sometimes, you will not have a screen, a keyboard, or a mouse, to connect with this computer, for this case, remote access technologies will come in handy. The Raspberry Pi's compact size and low power consumption make it an ideal candidate for remote deployment in a wide array of projects, from home automation to robotics and beyond.
- Unveiling Movierulz Kannada Your Ultimate Guide To Streaming Hub
- Aditimistry Live Leaked The Untold Story Behind The Viral Sensation
With remote access, the location of your Pi becomes secondary. You can monitor your projects, control hardware, and manage data from anywhere with an internet connection. This flexibility is particularly valuable for projects deployed in remote locations, such as weather stations, environmental sensors, or even embedded systems in far-flung locations. Furthermore, learning the different remote access methods allows you to understand the network architecture and how the internet works. All of these provide an important learning curve for the user.
So, with so many options available, which method should a beginner prioritize? The answer lies in understanding the tools available and choosing the one that best fits your needs and level of technical expertise.
Raspberry Pi Remote Access: A Comparative Overview
- Cory Booker Kids The Inspiring Journey Of Family Advocacy And Leadership
- Bollywood Movies Streaming In India Your Ultimate Guide
Let's take a look at the options available to remotely control your Raspberry Pi. You have various options, from using the secure shell protocol to using a desktop sharing tool.
Secure Shell (SSH):
SSH is one of the fundamental protocols for remote access, particularly for those new to the Raspberry Pi. It provides a secure, command-line interface for interacting with your Pi. With SSH, you can remotely execute commands, manage files, and configure your system. It is extremely useful for headless setups where you don't need a graphical interface.
SSH's key advantages include its simplicity, security, and lightweight nature. It is included by default and easy to enable.
Virtual Network Computing (VNC):
VNC is a more feature-rich option, offering a full graphical desktop experience. It allows you to see and interact with your Raspberry Pi's desktop just as if you were sitting in front of it. This is ideal for projects that require a visual interface, such as using graphical applications or managing complex configurations.
VNC is user-friendly and available by default in Raspberry Pi OS, and works from any computer or smartphone. RealVNC provides a cloud service that makes it even simpler to access your Pi, and cloud connections.
Raspberry Pi Connect:
Raspberry Pi Connect is Raspberry Pi's own remote desktop solution. It's designed to run from a web browser, so you can access your Pi from any device with a web browser.
Connect is still in beta, it can access your Raspberry Pi desktop and command line directly from any browser.
Other Remote Desktop Solutions:
Besides the above, you have other options such as NoMachine, TeamViewer, and RDP.
| Feature | SSH | VNC | Raspberry Pi Connect | NoMachine | TeamViewer | RDP |
|---|---|---|---|---|---|---|
| Interface Type | Command Line | Graphical Desktop | Graphical Desktop via Web Browser | Graphical Desktop | Graphical Desktop | Graphical Desktop |
| Ease of Use | Moderate | Easy | Easy | Moderate | Easy | Moderate |
| Security | High (when configured correctly) | Moderate (requires secure setup) | High (dependent on Raspberry Pi security) | Moderate (requires secure setup) | High (proprietary security) | Moderate (requires secure setup) |
| Bandwidth Usage | Low | Moderate to High | Moderate | Moderate | Moderate | Moderate to High |
| Default Availability | Yes | Yes | Beta (needs to be installed) | Needs to be installed | Needs to be installed | Needs to be installed |
| Ideal For | Lightweight tasks, headless setups, and command-line operations | Graphical applications, desktop access, and full system control | Graphical applications, desktop access, and full system control. Access from a web browser. | Graphical applications, desktop access, and full system control. Good performance. | Remote assistance, quick access, and cross-platform compatibility | Graphical applications, desktop access, and full system control. Windows environment preferred. |
These tools provide a way to work with your Raspberry Pi from a different location, or even a different country. It's like being in front of your Raspberry Pi when you're not. Now, let's look into the technical steps and the process of setting up remote access using these methods.
Setting Up Secure Shell (SSH) Access:
SSH is often the starting point for many users because of its simplicity and minimal resource requirements. To enable SSH on your Raspberry Pi, you will want to follow these simple steps:
1. Enabling SSH on Raspberry Pi OS Desktop:
If you're using the Raspberry Pi OS desktop environment, the process is straightforward. You'll need to navigate to the Raspberry Pi configuration tool. This can be done through the graphical interface by clicking the Raspberry Pi icon in the top-left corner of your screen, selecting "Preferences," and then "Raspberry Pi Configuration." Alternatively, you can use the command line by typing `sudo raspi-config` and pressing Enter. From there, select "Interfaces" and enable the SSH service.
2. Enabling SSH on Raspberry Pi OS Lite:
For headless setups using Raspberry Pi OS Lite, the SSH service is typically disabled by default. To enable it, you can do so during the initial setup process when flashing the SD card. When flashing the SD card, you can apply advanced options. These options provide configuration without having to use the command-line interface. You can enable SSH from the settings.
3. Connecting via SSH:
Once SSH is enabled, you can connect to your Raspberry Pi from another computer on the same network. You'll need to know the IP address of your Raspberry Pi. You can find this by either looking at your router's connected devices list or by typing `hostname -I` in the Raspberry Pi terminal. On your computer, you can then open a terminal window (or Command Prompt on Windows) and type `ssh pi@`. Replace `` with the actual IP address. You will be prompted for the password (the default is "raspberry" unless you have changed it). If everything is working correctly, you should be logged into your Raspberry Pi's terminal.
Setting Up VNC Access:
VNC provides a way to have a desktop environment from a remote location. VNC is known for its user-friendly interface and full desktop control, making it an excellent choice for graphical applications and full system management.
1. Enabling VNC:
VNC is included by default on Raspberry Pi OS. Enable it using the Raspberry Pi Configuration tool (described above) or through `sudo raspi-config`. Navigate to "Interfaces," and enable "VNC." For other operating systems, you may need to install a VNC server software such as RealVNC. After the installation, you can start and stop the server from the settings menu.
2. Connecting via VNC:
To connect, you'll need a VNC client, which is available on most computers and smartphones. The RealVNC client is a popular option and works well on all platforms. Simply open the VNC client and enter your Raspberry Pi's IP address, followed by a colon and the display number (usually `:1`). You will be prompted for your Raspberry Pi's username and password. Once authenticated, you should see your Raspberry Pi's desktop.
3. Using VNC Connect:
VNC Connect is a cloud-based service offered by RealVNC. It allows you to access your Raspberry Pi from anywhere in the world. To use VNC Connect, you'll need to create an account and install the VNC server software on your Raspberry Pi. Follow the instructions on the RealVNC website to set up the connection. The main advantage of VNC Connect is that it eliminates the need to configure port forwarding or deal with IP addresses, making it a more straightforward option for remote access.
Setting Up Raspberry Pi Connect:
Raspberry Pi Connect offers a web-based solution, and is in beta. It is a great and unique solution for remote access to your Raspberry Pi. It's easy to get started and use it through a web browser.
1. Setting Up Raspberry Pi Connect:
To use Raspberry Pi Connect, you'll need to ensure your Raspberry Pi is connected to the internet. It is easy to set up and use directly from a web browser.
You will need to connect Raspberry Pi to the network by using the ethernet cable or by connecting to a Wi-Fi network.
2. Connecting via Web Browser:
Go to the Raspberry Pi Connect website, log in, and you'll be able to access your Pi.
Additional Remote Access Methods:
Besides the methods described above, several other tools and techniques can facilitate remote access to your Raspberry Pi. Some of these include:
NoMachine:
NoMachine is a remote desktop solution that can provide a great experience, making it a good alternative for users seeking high performance and ease of use.
TeamViewer:
TeamViewer is another well-known remote access tool that provides a user-friendly interface and cross-platform compatibility. It is a good option for remote assistance.
Remote Desktop Protocol (RDP):
RDP is a protocol developed by Microsoft and is a built-in feature of Windows. It is possible to configure your Raspberry Pi to work with RDP. This is useful for Windows users who prefer to use the RDP client that comes with their operating system.
Port Forwarding and VPNs:
For accessing SSH or VNC over the open internet, it is important to use port forwarding and VPNs. Port forwarding allows you to configure your router to forward incoming traffic to your Raspberry Pi, but it comes with security risks. Alternatively, a Virtual Private Network (VPN) creates a secure, encrypted connection between your Raspberry Pi and your device, allowing you to access your Pi as if it were on the same local network. VPNs are generally considered more secure than port forwarding.
Enhancing Security:
Security is paramount when opening your Raspberry Pi to remote access. Here are some steps to enhance the security of your setup:
1. Change Default Passwords: Always change the default passwords for your Raspberry Pi and any remote access accounts. This prevents unauthorized access.
2. Use Strong Passwords: Use strong, unique passwords that include a mix of uppercase and lowercase letters, numbers, and symbols.
3. Enable Two-Factor Authentication (2FA): If available, enable 2FA to add an extra layer of security.
4. Keep Software Updated: Regularly update your Raspberry Pi's operating system and all software to patch security vulnerabilities.
5. Firewall Configuration: Configure the firewall on your Raspberry Pi to restrict access to only necessary ports and services.
6. Consider Using a VPN: A VPN provides an encrypted connection that helps protect your data and provides a more secure remote access.
7. Limit Access: Grant access only to authorized users and review user permissions regularly.
Troubleshooting Common Issues:
1. Connection Issues: If you cannot connect remotely, check your network configuration, IP addresses, and firewall settings. Make sure the Raspberry Pi is connected to the internet.
2. SSH Connection Refused: This typically indicates that SSH is not enabled or there is a firewall blocking the connection. Verify that SSH is enabled in the Raspberry Pi configuration and that no firewall rules are blocking incoming SSH connections.
3. VNC Connection Problems: If you cannot connect via VNC, verify the VNC server is running and that the IP address and display number are correct. Additionally, check your network connection and firewall settings.
4. Performance Issues: Remote desktop connections can be slow. To improve performance, consider using a lower screen resolution, closing unnecessary applications, and optimizing your network connection.
5. Raspberry Pi Connect problems: Check for errors in the setup, such as the connection to the Raspberry Pi network, and the username and password. Also, check the error messages on the Raspberry Pi Connect website.
Beyond Remote Access: The Bigger Picture
Remote access is just one of the many facets of what you can do with a Raspberry Pi. These techniques allow you to do a lot more with the Raspberry Pi.
Mastering Python: Learn Python on your Raspberry Pi. Start with simple scripts, and gradually increase the complexity. This includes creating, understanding, and improving any Python script for your Raspberry Pi.
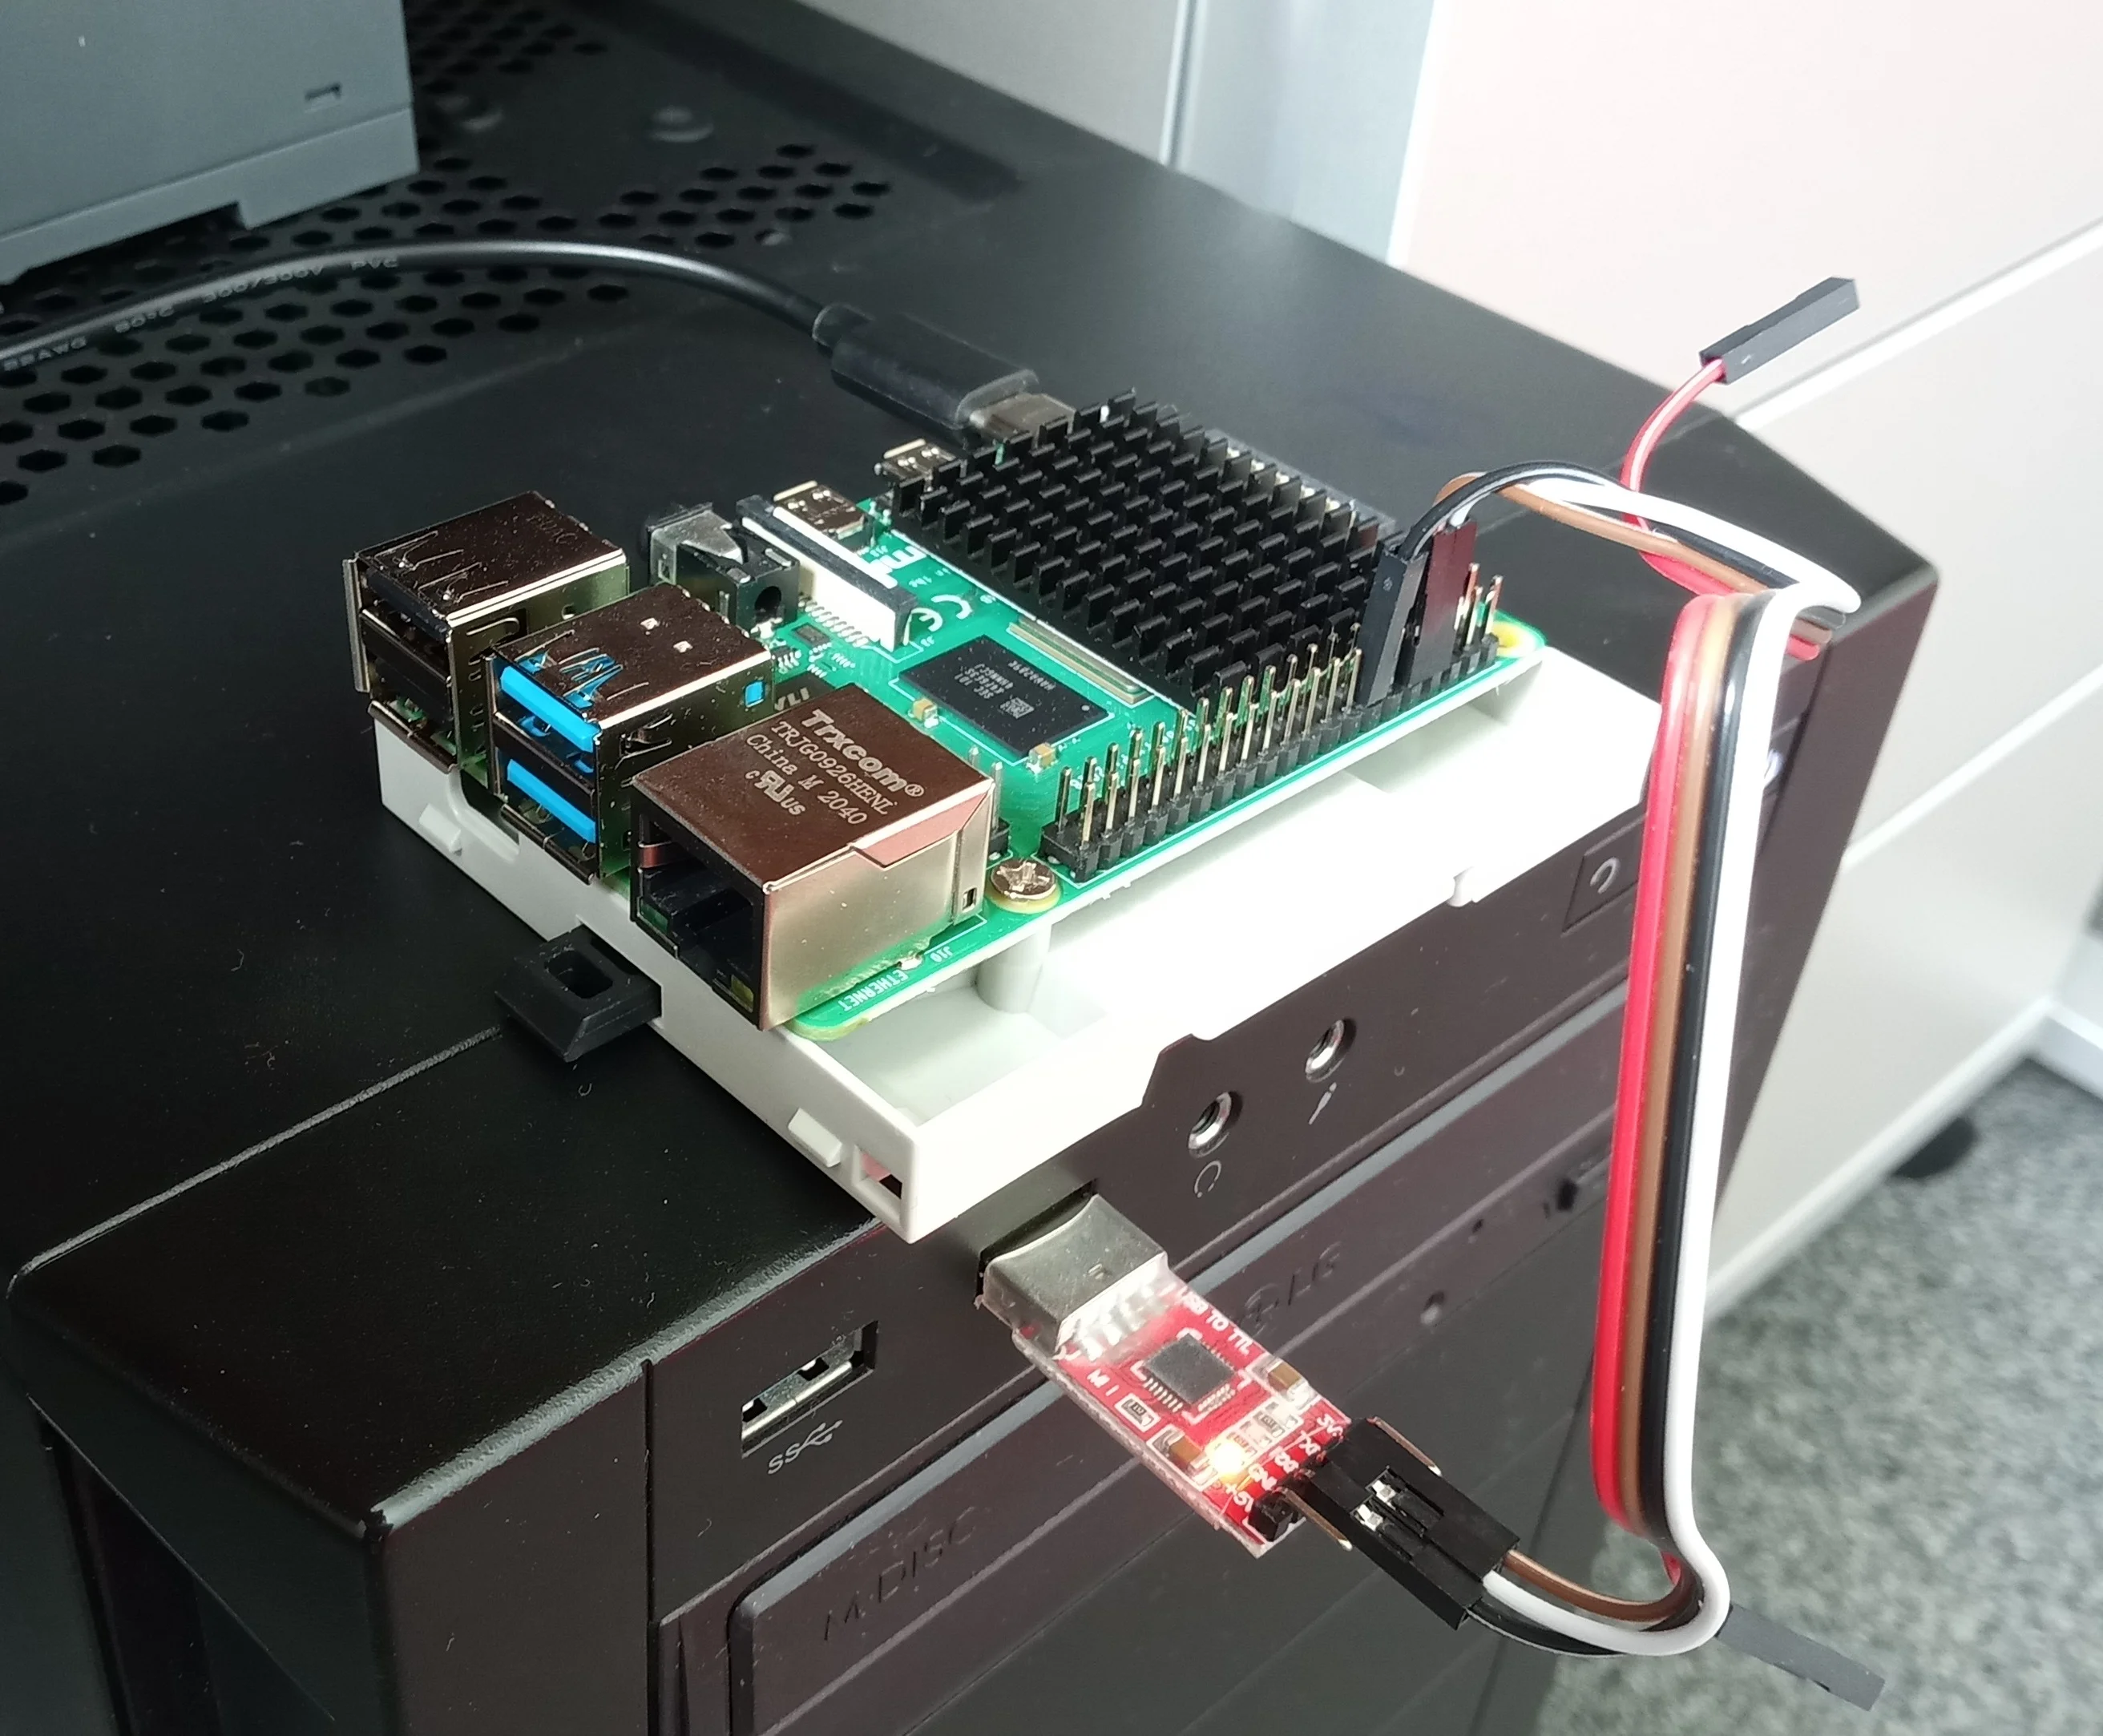
Project Integration: Once you're comfortable with remote access, you can start integrating your Raspberry Pi into more complex projects. This might involve connecting it to sensors, controlling motors, or creating a home automation system. Use wireless technologies like infrared, Bluetooth, Wi-Fi, and other protocols to build a system.
Further Learning: Explore the internet, tutorials, and community forums to expand your knowledge and find inspiration for new projects.
Conclusion
Remote access to your Raspberry Pi is more than just a technical skill; it is a gateway to creative projects. It's a crucial part of the learning process, allowing you to work on your projects without the need for a screen, keyboard, or mouse. Understanding the available methods, from the simplicity of SSH to the graphical richness of VNC and the web-based accessibility of Raspberry Pi Connect, allows you to choose the right approach for your needs. By securing your setup and regularly updating your software, you can safely harness the power of remote access, unlocking a world of possibilities and paving the way for more exciting and innovative projects.

Detail Author:
- Name : Bret Marvin
- Username : paolo.mayert
- Email : bayer.marianna@hotmail.com
- Birthdate : 1979-08-07
- Address : 877 Runolfsson Ford East Lorenzachester, MN 04416-2001
- Phone : (864) 746-2444
- Company : Larson Ltd
- Job : Agricultural Inspector
- Bio : Et dolor nisi quae dolore. Commodi optio illo praesentium fuga. Aut vitae quos ratione ut. Optio tempore pariatur est et quaerat. Maxime consequuntur vel nihil sequi aspernatur enim quasi.
Socials
tiktok:
- url : https://tiktok.com/@vada_hamill
- username : vada_hamill
- bio : Inventore tenetur quis quam quaerat voluptates.
- followers : 4162
- following : 1375
facebook:
- url : https://facebook.com/vada_xx
- username : vada_xx
- bio : Fuga inventore distinctio labore aperiam eaque.
- followers : 3073
- following : 2986
