Connecting To RPi Via VNC Securely: A Beginner's Guide For The Tech-Savvy Enthusiast
Hey there, tech wizards and Raspberry Pi enthusiasts! If you're reading this, chances are you've already dived headfirst into the world of single-board computing, and now you're looking to level up your skills. Connecting to RPi via VNC securely is one of those must-know techniques that can take your Pi projects from good to great. Whether you're a seasoned pro or just starting out, this guide has got you covered. So grab your coffee, sit back, and let’s unravel the secrets of remote access without compromising on security.
In today's fast-paced digital world, remote access to your Raspberry Pi is more than just a convenience—it's a necessity. Imagine being able to control your Pi from anywhere in the world, all while keeping your data safe from prying eyes. That's where VNC comes in, offering a seamless way to interact with your Pi as if you were sitting right in front of it. But here's the catch: security matters, and that’s why we're diving deep into how to do it right.
This guide isn’t just another tech tutorial; it’s your personal cheat sheet for setting up a secure VNC connection. We'll walk you through every step, from understanding the basics to implementing advanced security measures. By the end of this, you'll be a pro at connecting to your RPi via VNC securely, and you'll have the confidence to tackle even the most complex projects. Ready? Let's get started!
- Melissa Rauch Naked Pics A Closer Look At The Rumors And Facts
- Hd4hub Your Ultimate Guide To Highquality Entertainment
What is VNC and Why Should You Care?
VNC, or Virtual Network Computing, is like a digital portal that lets you access and control one computer from another. Think of it as a remote control for your Raspberry Pi. But why should you care? Well, VNC isn’t just about convenience—it’s about efficiency. Whether you're debugging code, running a server, or even setting up a media center, VNC gives you the flexibility to manage your Pi without being physically present.
However, with great power comes great responsibility. VNC connections can be vulnerable if not set up correctly. That's why learning how to connect to your RPi via VNC securely is crucial. Without proper security measures, you're essentially leaving the door wide open for hackers to waltz in and mess with your setup. Yikes, right? Don’t worry—we’re here to make sure that doesn’t happen.
Benefits of Using VNC for RPi
Here’s a quick rundown of why VNC is such a game-changer for Raspberry Pi users:
- Fry99com The Ultimate Cooking And Recipe Destination
- Aditi Mistry Latest Videos Unveiling The Hottest Content And Behind The Scenes
- Remote Access: Control your Pi from anywhere in the world.
- Efficiency: Streamline your workflow by managing multiple projects without switching devices.
- Cost-Effective: No need for extra monitors or peripherals when you can access everything remotely.
- Flexibility: Use any device with a VNC client to interact with your Pi.
Now that you know what VNC is and why it’s so awesome, let’s dive into the nitty-gritty of setting it up securely.
Understanding the Basics of Secure VNC Connections
Before we jump into the setup process, let’s break down the basics of secure VNC connections. Security is the backbone of any remote access system, and understanding how it works will help you avoid common pitfalls. Think of it like building a house—you want a solid foundation before you start adding the fancy stuff.
Key Components of a Secure VNC Setup
Here are the essential components you need to focus on:
- Encryption: Protect your data with end-to-end encryption to prevent unauthorized access.
- Authentication: Use strong passwords and, if possible, two-factor authentication (2FA) to verify users.
- Firewall Configuration: Set up firewalls to block unwanted traffic and only allow trusted connections.
- Regular Updates: Keep your software and firmware up to date to patch vulnerabilities.
By focusing on these key areas, you’ll create a robust security framework that keeps your RPi safe and sound. Now, let’s move on to the setup process.
Step-by-Step Guide to Setting Up VNC on RPi
Alright, let’s get our hands dirty and set up VNC on your Raspberry Pi. This step-by-step guide will walk you through everything you need to know, from installation to configuration. Buckle up—it’s about to get techy!
Step 1: Enable VNC on Your Raspberry Pi
First things first, you need to enable VNC on your RPi. Here’s how you do it:
- Boot up your Raspberry Pi and log in to the desktop environment.
- Click on the Raspberry Pi icon in the top-left corner and navigate to Preferences > Raspberry Pi Configuration.
- Go to the Interfaces tab and select "Enabled" next to VNC.
- Reboot your Pi to apply the changes.
Voila! VNC is now enabled on your Pi. But hold your horses—we’re not done yet.
Step 2: Install a VNC Viewer
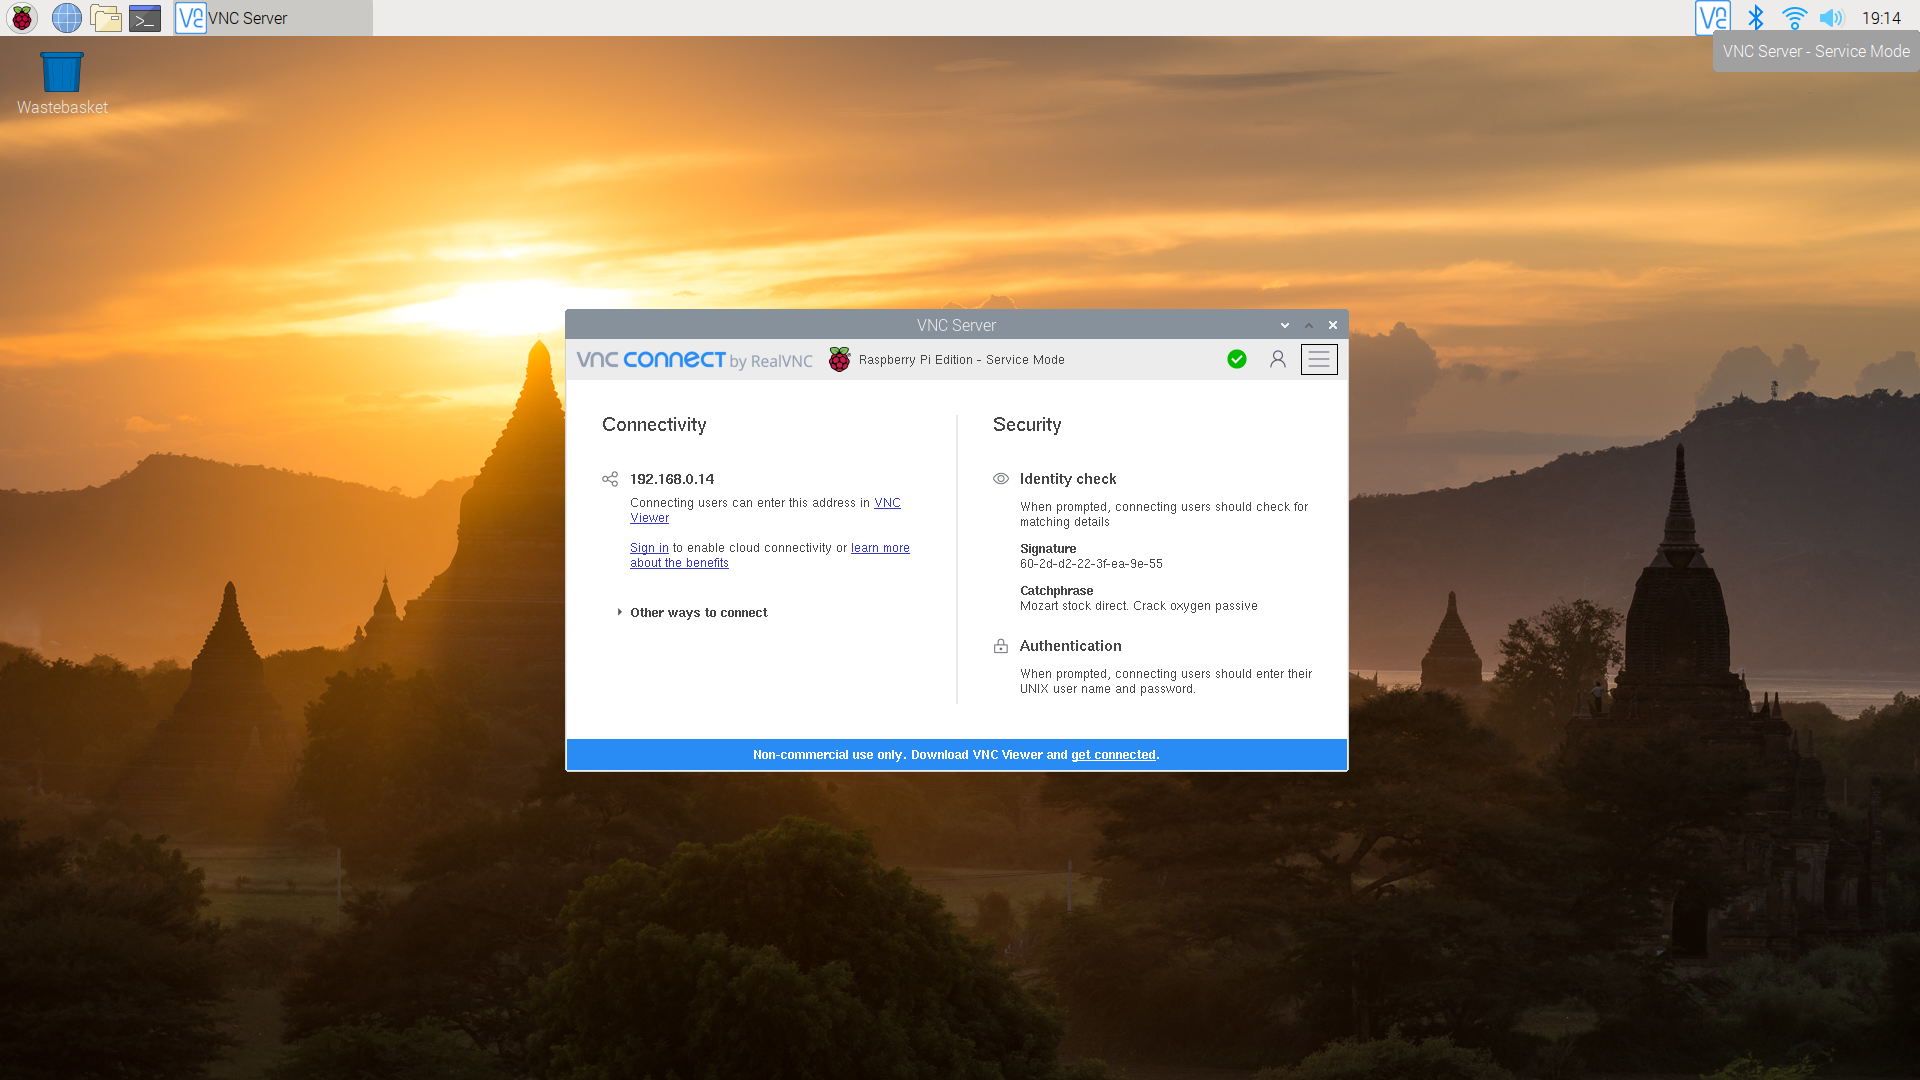
Now that VNC is enabled on your Pi, you’ll need a VNC viewer on your client device. There are tons of options out there, but we recommend RealVNC or TigerVNC for their ease of use and reliability. Simply download and install the viewer on your preferred device, and you’re good to go.
Step 3: Configure Security Settings
This is where the magic happens. Configuring security settings is crucial to ensuring that your VNC connection is as secure as Fort Knox. Here’s what you need to do:
- Set a strong password for your VNC server. Make sure it’s a mix of uppercase, lowercase, numbers, and symbols.
- Enable encryption in your VNC settings to protect your data during transmission.
- Consider using SSH tunneling to add an extra layer of security. We’ll cover this in more detail later.
With these settings in place, you’ve taken a big step toward securing your VNC connection. Now let’s talk about SSH tunneling.
Using SSH Tunneling for Enhanced Security
SSH tunneling is like a secret handshake that only you and your Pi know. It encrypts your VNC connection and routes it through an SSH tunnel, making it virtually impossible for hackers to intercept your data. Here’s how you set it up:
Step 1: Install SSH on Your RPi
If SSH isn’t already installed on your Pi, you’ll need to enable it. Follow these steps:
- Go to Preferences > Raspberry Pi Configuration.
- Head to the Interfaces tab and enable SSH.
- Reboot your Pi to apply the changes.
Now that SSH is up and running, let’s move on to setting up the tunnel.
Step 2: Create the SSH Tunnel
Here’s how you create an SSH tunnel for your VNC connection:
- Open a terminal on your client device and enter the following command:
ssh -L 5901:localhost:5901 pi@your_pi_ip_address. - Enter your Pi’s password when prompted.
- Once the tunnel is established, open your VNC viewer and connect to localhost:5901.
And just like that, you’ve created a secure SSH tunnel for your VNC connection. Pretty cool, right?
Best Practices for Securing Your VNC Connection
Now that you know how to set up VNC securely, let’s talk about some best practices to keep your connection as safe as possible. These tips might seem small, but they can make a big difference in the long run.
Tip 1: Use Strong Passwords
Never underestimate the power of a strong password. Avoid using easily guessable words or phrases, and consider using a password manager to generate and store complex passwords.
Tip 2: Regularly Update Your Software
Software updates aren’t just for fixing bugs—they also patch security vulnerabilities. Make it a habit to update your Pi’s software and firmware regularly.
Tip 3: Monitor Your Connections
Keep an eye on who’s accessing your Pi and when. If you notice any suspicious activity, take action immediately to prevent potential breaches.
By following these best practices, you’ll be well on your way to creating a secure VNC setup that you can trust.
Troubleshooting Common VNC Issues
Even the best-laid plans can hit a snag now and then. If you’re having trouble with your VNC connection, don’t panic. Here are some common issues and how to fix them:
Issue 1: Connection Refused
If you’re getting a "connection refused" error, double-check your IP address and ensure that VNC is enabled on your Pi. Also, verify that your firewall isn’t blocking the connection.
Issue 2: Slow Performance
Slow VNC performance can be frustrating, but it’s usually caused by network congestion or outdated software. Try optimizing your network settings or updating your VNC client and server.
Issue 3: Security Warnings
If you’re seeing security warnings, it’s likely because your connection isn’t encrypted. Follow the steps we covered earlier to enable encryption and SSH tunneling.
With these troubleshooting tips in your arsenal, you’ll be able to tackle most VNC issues with ease.
Conclusion: Take Your RPi Projects to the Next Level
And there you have it—a comprehensive guide to connecting to your RPi via VNC securely. By following the steps and best practices outlined in this article, you’ll be able to enjoy the convenience of remote access without compromising on security.
Now it’s your turn to take action. Whether you’re setting up a home automation system, running a web server, or building the next big thing, VNC can help you achieve your goals. So what are you waiting for? Get out there and start connecting!
Before you go, don’t forget to leave a comment and share your thoughts on this guide. And if you found it helpful, consider sharing it with your fellow Pi enthusiasts. Together, we can build a safer and more connected tech community. Happy coding, and see you in the next one!
Table of Contents
- What is VNC and Why Should You Care?
- Understanding the Basics of Secure VNC Connections
- Step-by-Step Guide to Setting Up VNC on RPi
- Using SSH Tunneling for Enhanced Security
- Best Practices for Securing Your VNC Connection
- Troubleshooting Common VNC Issues
- Conclusion: Take Your RPi Projects to the Next Level

![[Fixed] VNC Viewer Not Connecting Issues (2024)](https://tryrdp.com/blog/wp-content/uploads/2023/01/Fix-VNC-Viewer-Not-Connecting-.png)
Detail Author:
- Name : Francisco Lemke
- Username : chanel53
- Email : pinkie.west@yahoo.com
- Birthdate : 1986-05-16
- Address : 724 Harber Pass Suite 595 East Estrella, MN 89365-8956
- Phone : +1-305-268-5566
- Company : Glover, Kling and Gusikowski
- Job : Gaming Supervisor
- Bio : Voluptatem commodi non consequatur quam. Repellat iusto fugiat quis doloribus nam tenetur. Hic dignissimos alias et ad non corrupti.
Socials
linkedin:
- url : https://linkedin.com/in/casperw
- username : casperw
- bio : Amet fugit est sequi et.
- followers : 4779
- following : 221
facebook:
- url : https://facebook.com/casper1979
- username : casper1979
- bio : Assumenda sit tempore expedita ut. Quo nesciunt nesciunt nemo.
- followers : 6282
- following : 555
